How to obtain credentials for automatic screenshot upload to Apple App Store Connect
To upload your screenshots to App Store Connect and Google Play Console automatically with AppScreens, you'll first need to go through setup and obtain a few credentials. To see the setup for Google, click here.
You can see Apples Full documentation here.
Stage 1 - Creating a Key in App Store Connect
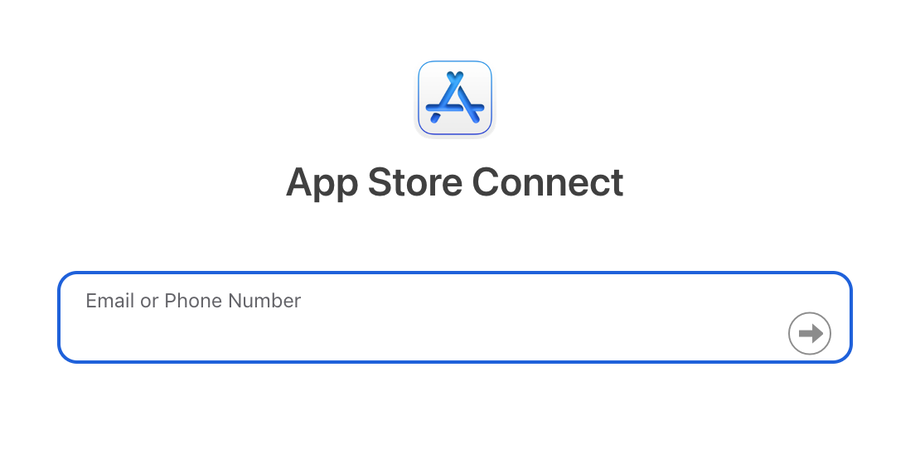
- Navigate to App Store Connect and login
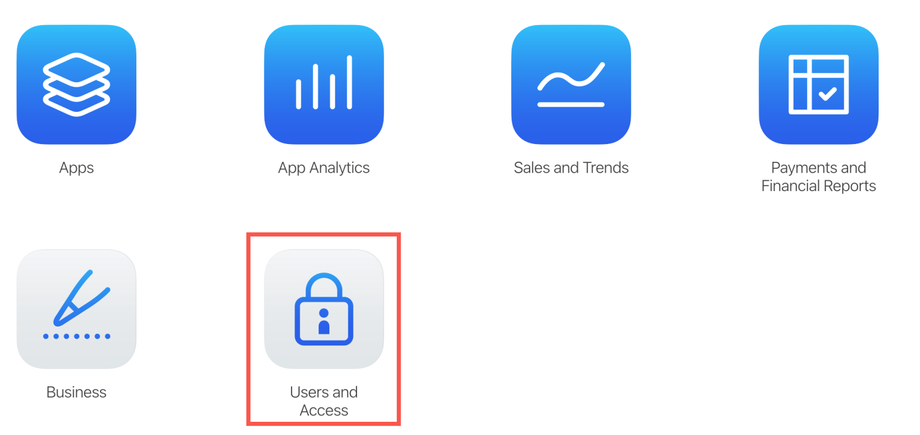
- Click on 'Users and Access'
- Click on the 'Integrations' tab. Then select 'App Store Connect API' on the side menu. Ensure you're on the 'Team Keys' tab and create a new Team Key using the + button.
NOTE: If you can't see theApp Store Connect APItab, this means you don't have the correct permission. See the full Apple documentation on how to obtain this permission.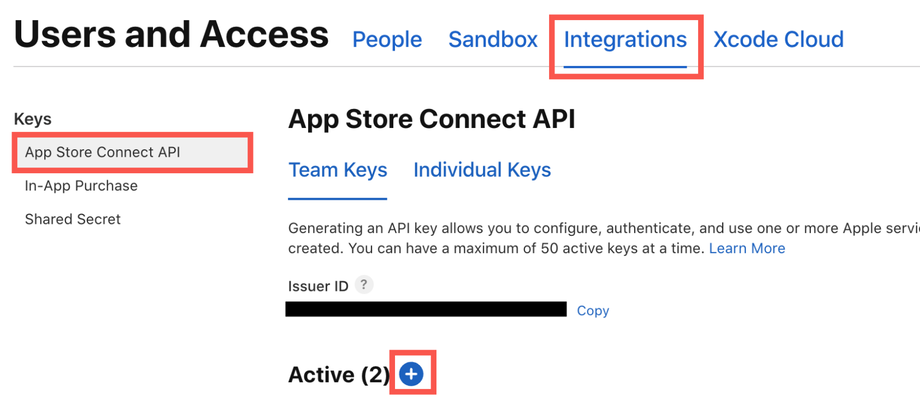
- Enter an API key name such as 'AppScreens'. The name you use is for your reference only.
- Set 'Access' to 'App Manager'. You can read more about roles & permissions in App Store Connect here.

- Click 'Generate'
- Against the Key you have just created, click the 'Download' button, to download the .p8 API Key file. You will need to upload this to AppScreens later.
NOTE: The Key is available to download a single time. If the key becomes lost or compromised, remember to revoke it immediately.
- Against the same Key, hover over 'Key ID' and select 'Copy Key ID'. Make a note of this as you will need it for configuration later.

- You will also need to make a note of the 'Issuer ID', click copy and save it somewhere for later.

Stage 2 - Configure & validate in AppScreens
- Go to AppScreens and ensure you're logged in.
- Select Projects from the top navigation bar.
- In the action bar, click on All Apps then in the drop down select Update Apps

- Click the Create new button
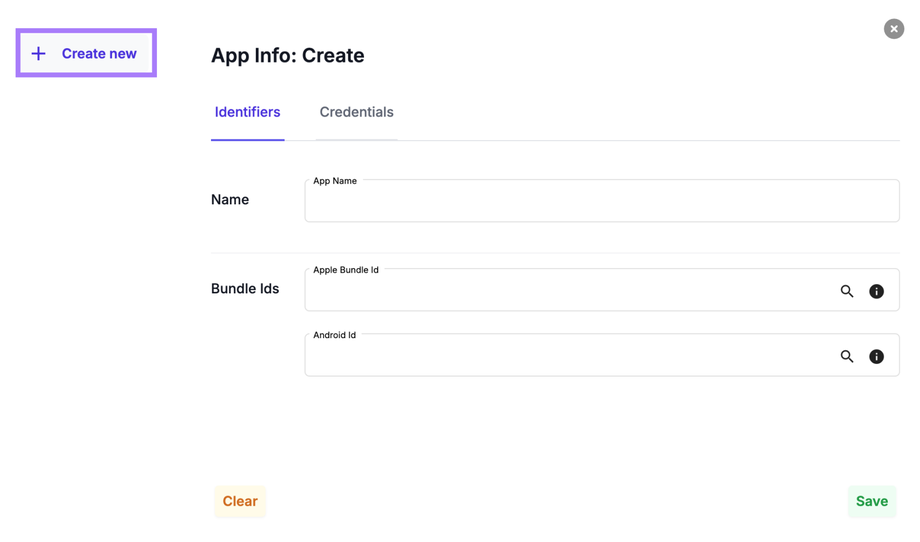
- Type in the name of your app if it is already listed in the app store, select your app from the list, the App Store label is your app on the Apple App Store, the Play Store label is your app on Google Play. If your app isn't yet published, select Create manually.

- If your app is listed on both App Stores, you can select the other listing against your Bundle Ids by clicking the search icon and selecting your app.

- Click Save and AppScreens will check your Bundle Ids and pull in your app store icon.
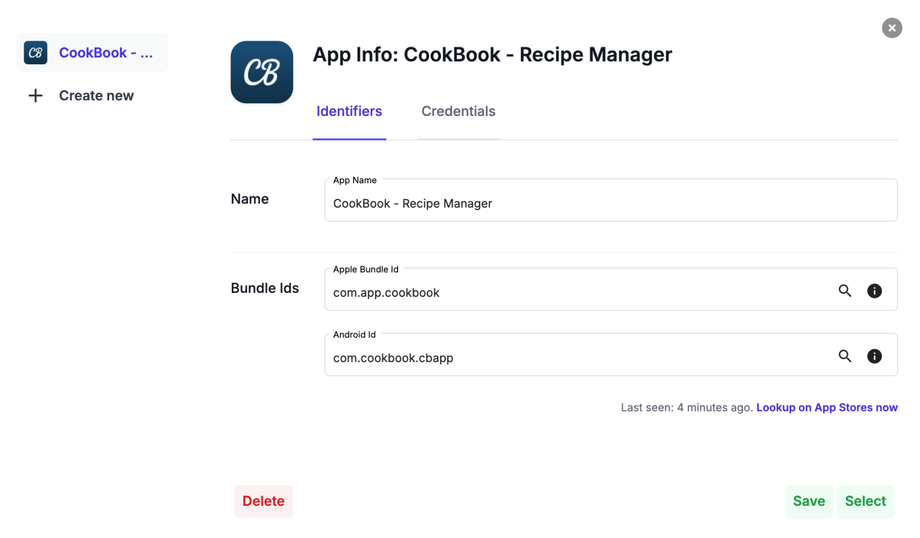
- Click on the Credentials tab to start adding your App Store Key that we created in Step 1
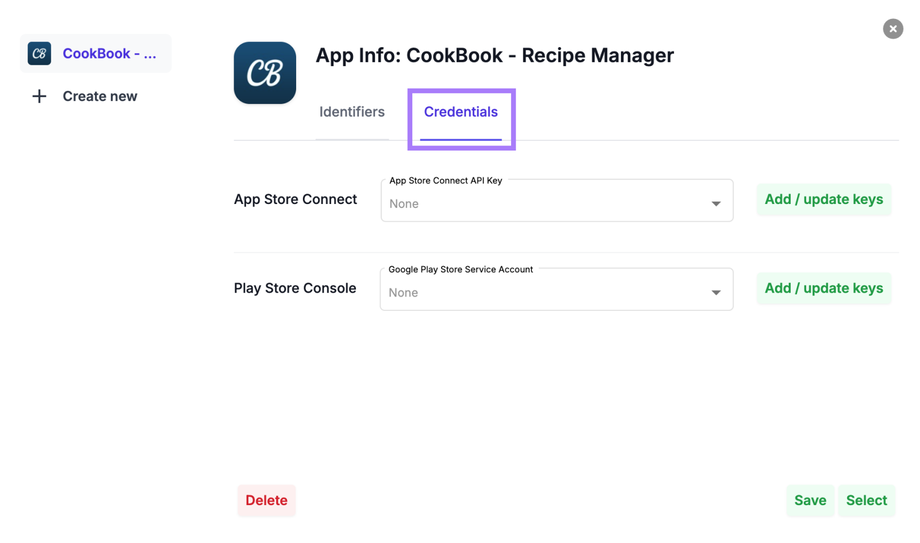
- Against App Store Connect, click Add / update keys

- Enter a name for your credentials such as '[Your App] Apple Credentials'
- In the Key ID field, paste in the Key ID created in Stage 1 - Step 8.
- In the Issuer ID field, paste in the Issuer ID created in Stage 1 - Step 9.
- In the Key (p8) field, click to upload the .p8 API Key file obtained in Stage 1 - Step 7.
- Enter the name of your App Store Connect team if you're in multiple teams.
- Click Create credential.

- Then select Validate
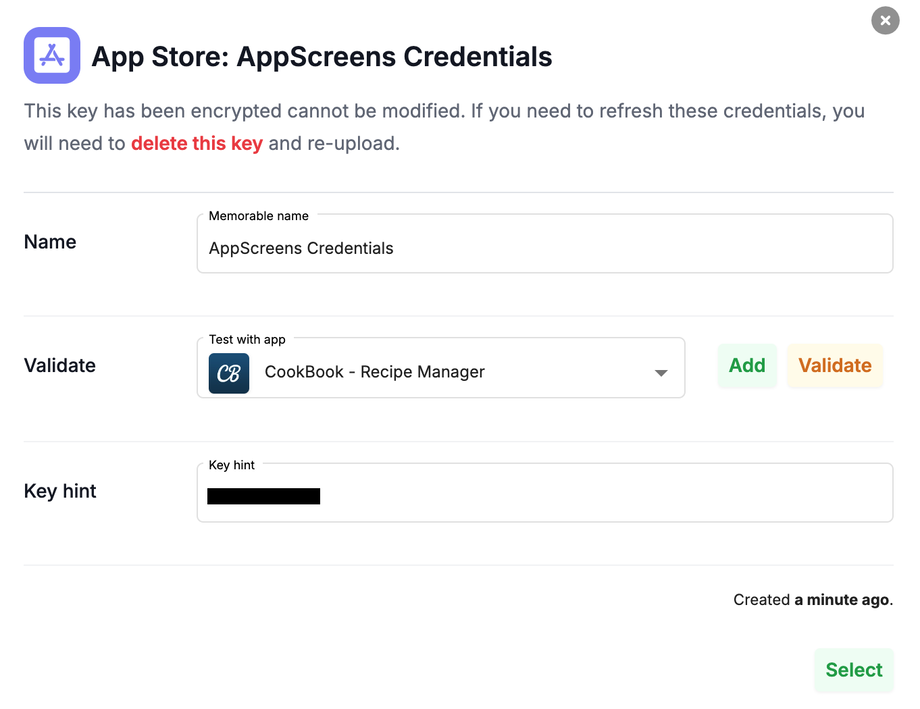
- If your validation fails, please read the error information, you may need to correct something in your credentials or App Store Connect account before validation is possible.
If you're unclear on why your verification has failed, drop down the More Info box to copy any details then contact us by clicking on the chat icon in the bottom left corner of the page. Please ensure you paste any information in the dropdown including the Trace string.
Common issues:- The latest Apple agreements have not been accepted
- All validation credentials have not been added
- Click Create
- Once your credentials have been validated successfully, ensure they have been selected against App Store Connect
- Click Save
- You'll now be able to use AppScreens automatic App Store Upload in the export options! 🚀

